In the creative field, a mood board is a powerful tool that can boost visual inspiration. While they may look fun and easy to make, you should not take them lightly. Therefore, if you want to create a powerful and creativity-inducing tool for your upcoming project, make sure you follow these tips on how to create mood boards.
Before that, however, let’s take a look at what a mood board is and the pros and cons of physical and digital mood boards.
Understanding Mood Board

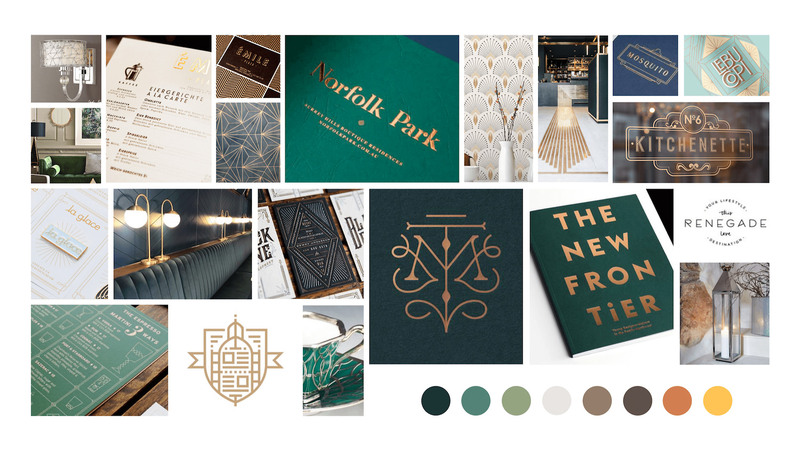
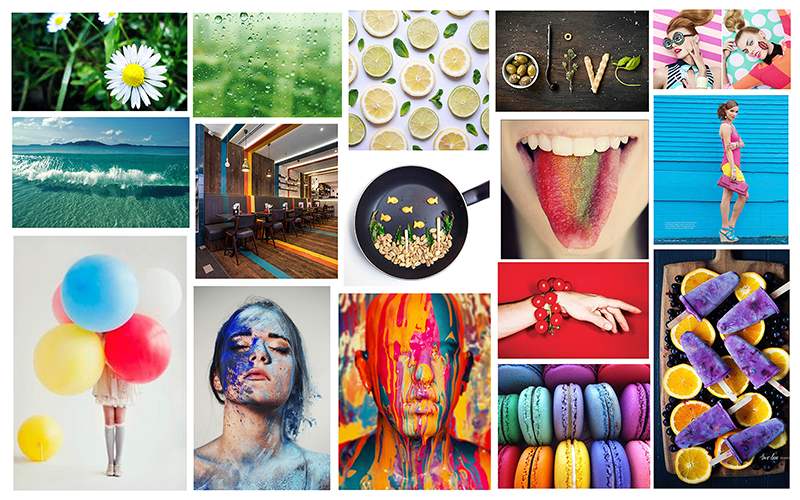
A Mood board, also known as an inspiration board, is a tool to create visual inspiration to help your creativity flow for various creative projects. It is usually made of a collage of pictures, colors, design elements, logos, typography, color palettes, material samples, descriptive words, and many more.
Mood board help creators visualize how their chosen creative elements will look when put together. This way, they can perfect their ideas and design until it meets their needs. It is also a great tool for creators working in a team, as a mood board can help anyone involved in the projects understand how the projects should look and feel.
This tool is helpful in various fields, such as graphic designing, fashion designing, interior decorating, photography, event planning, and many more.
Physical vs. Digital Mood Board

Before we discuss tips on how to create mood boards, let’s first discuss the two types of media for a mood board, digital and physical.
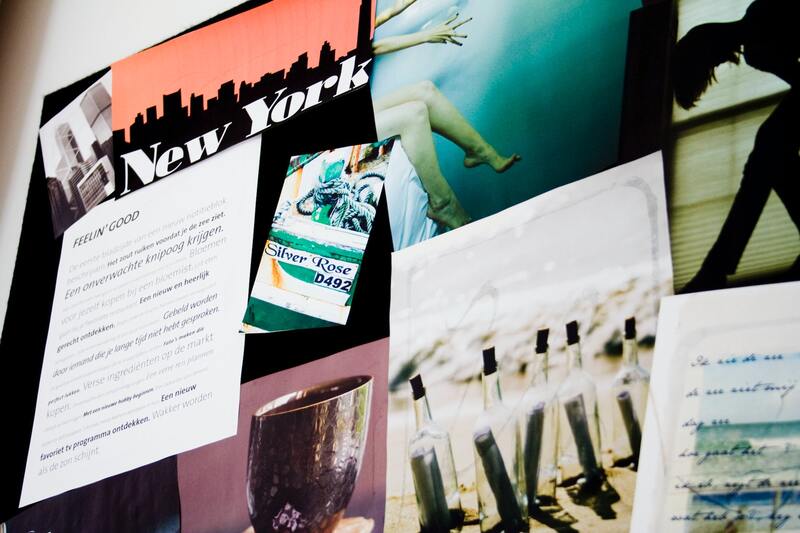
A physical mood board is the printed version, and it can be a collage of images and design elements cut from magazines or books or printed from a computer. On the other hand, a digital mood board is made digitally on a computer or smart device.
The physical version can be a lot of fun to make as it involves cutting and gluing. It is also a nice option as you can easily see it in your space. On the other hand, the digital version will be easier to make, and you can easily edit them without being messy. It is also easier to share with other teams as well.
How to Create Mood Boards

Both physical and digital mood boards have their own pros and cons. However, no matter what media you use, you will need this guideline to create a mood board that can boost your visual inspiration.
Think about the theme that you want to go for
Before you start cutting and gluing, you first need to decide on the theme of your mood board. Knowing what theme to go for is important to help you decide on the color palettes and design elements.
When deciding on a theme, you can start by finding its associated keywords. For example, you can start with the style, materials, and color associated with the theme. By doing this, you can easily search for the right images with these keywords.
Suppose you don’t have an idea yet, no need to worry. You can start with magazines and books, let your eyes wander on each page, and write a note on what you think resonates with your theme or idea.
If you are working on a client project, you will need to find out what kind of look and feel resonates with their project. Find out as much information as possible about their ideas and projects. You can also use the images from the actual project to help you build the feel.
Collect the design elements and arrange them
Now that you know the layout and theme, the next tip on how to create mood boards is about adding the design elements that you have found. Gather all your early inspirations and try to find more. It can be a cutout from a movie scene, vintage illustrations, fashion shoots, objects, fabrics, artworks, color swatches, typography, or anything else that you think is suitable for the theme.
Now that you have everything together, you can add them to your mood board. You can move them around, swap one another, or do anything you think will create the right look and feel. Don’t be too afraid, and have fun with the process. If you think it doesn’t feel right, you can try different placements or looks to find out what sets the mood best.
To curate the elements that suit your theme, find out the elements and samples that fit together harmoniously. Make sure it has a cohesive color palette. With this principle, you can remove anything that has clashing looks.
If the mood board still doesn’t feel right after a while, don’t worry! You can step away for a while and do something else. You should try to get your mind out of the mood board for a while. After some time, come back and see if you feel something different. You might feel that you should add something, take something away, or rearrange the position. That will be fine!
Present it
After your mood board, the final step is sharing it with your team. Ask them what they think about it, as they may give you useful suggestions on what else to add or what needs to be removed. Collaborating with the team can also be a fun thing to do when creating a mood board, so don’t shy away from it!
When collaborating with your team when creating a mood board, be sure to be open-minded with suggestions. However, remember not to stray away from the main theme you are working on!
Creating a mood board is a fun and creativity-inducing activity. However, do not take this activity lightly, as it is an important and powerful tool to boost creativity. Therefore, whether you make them physically or digitally, make sure to follow the tips above on how to create mood boards!
