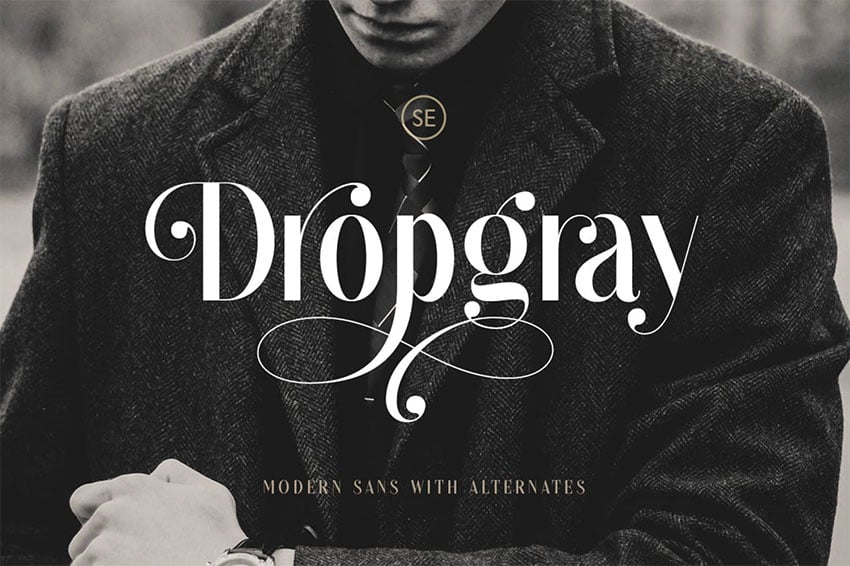
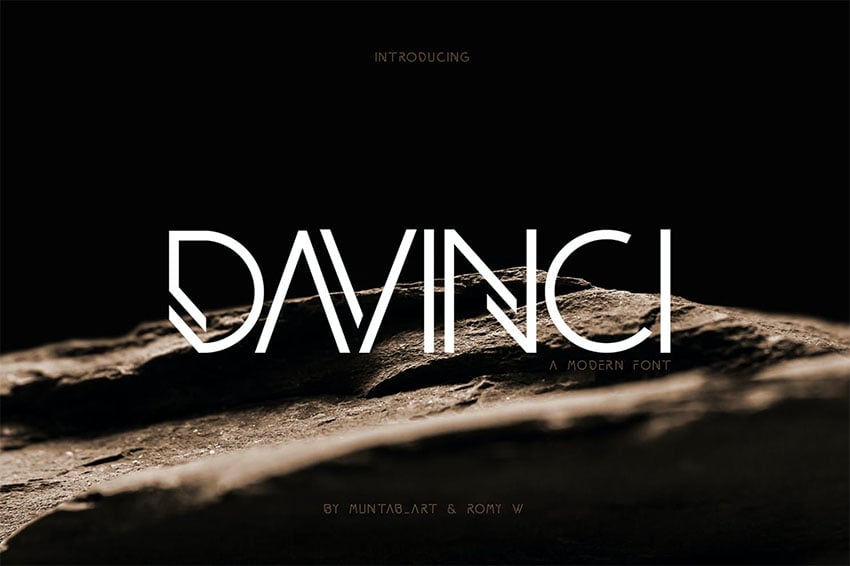
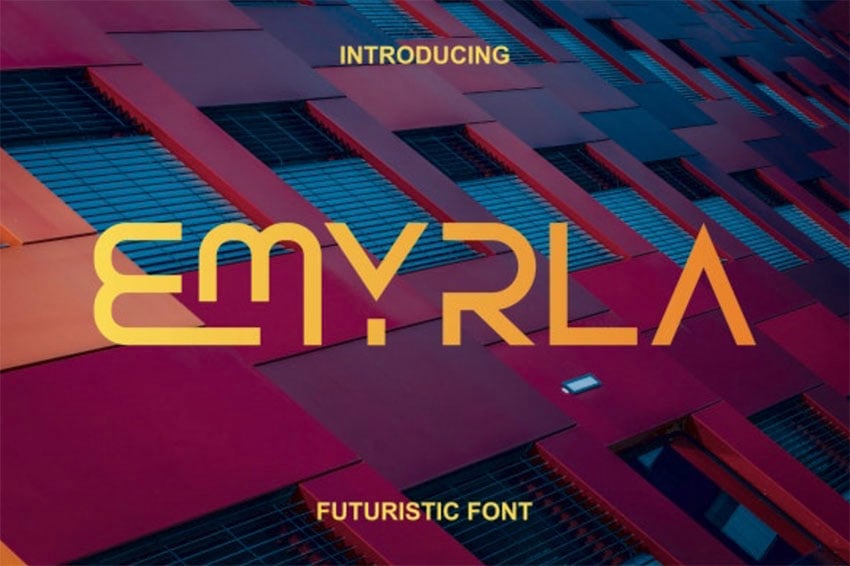
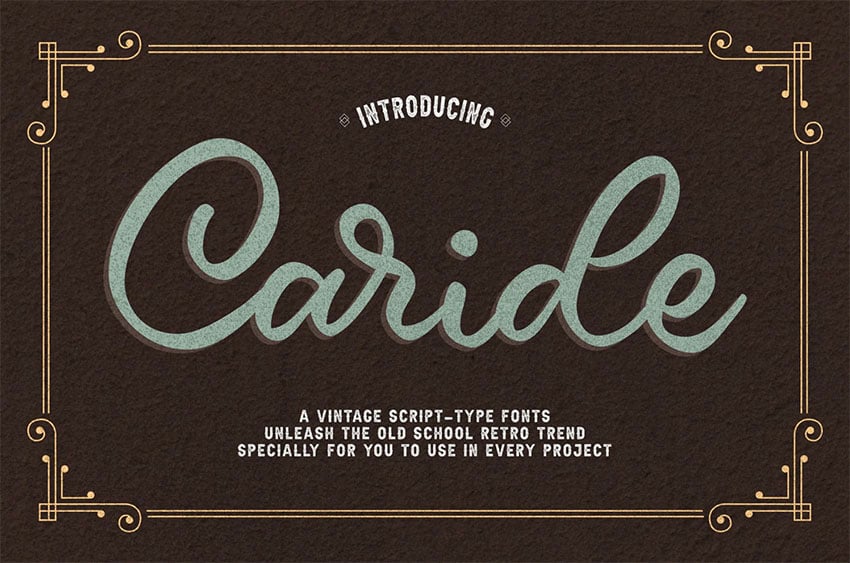
Have you felt like trying all the fonts available on your device, and now you need a fresh new one? Either designers, illustrators, or just out of curiosity, you can try to make your custom font design.
Well, it is not easy, but worth a shot. You can try to enroll in a design course so that you will get the knowledge straight from professionals. But if that’s not possible, you can always try it at home.
11 Tips to Create Your Own Font Design
Do not worry when you feel confused about where to begin with your font-making process. We are here to give you direction with 10 tips you need to try before creating your font.
Figure Out What You Want
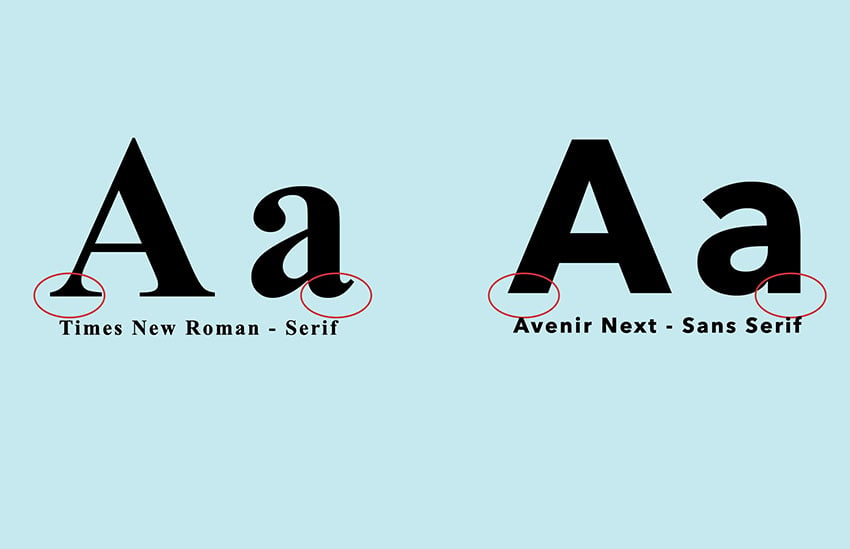
After getting some inspiration secure in your note. Now is the time to decide what typefaces and fonts you want to make. You must first learn the three basic types of typefaces—serif, sans-serif, and decorative.
Consider these questions before start creating the font:
- Think about your goal. What do you want to use the fonts for?
- Is it for personal use for your website? What kinds of audience members will enjoy reading your font?
- Is it for a specific project? It should embody those certain projects well.
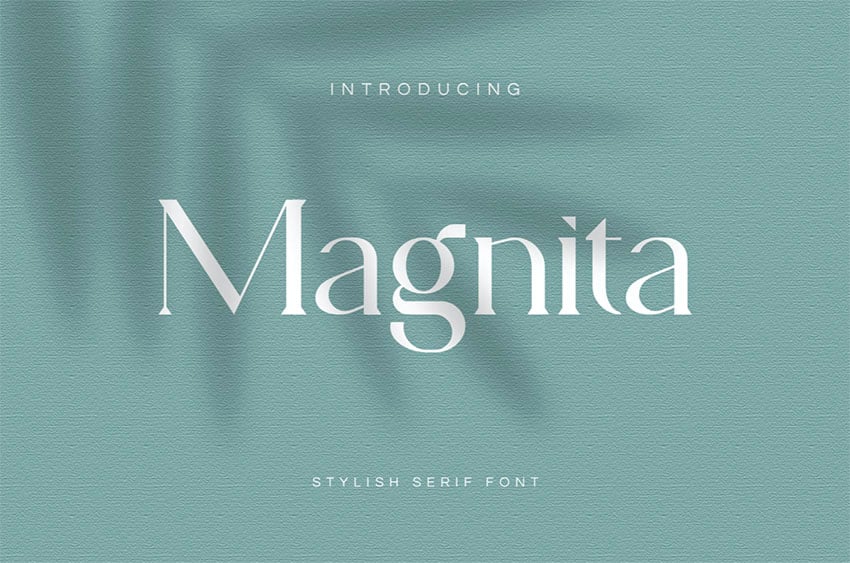
If you want a font suitable for lengthy written text like news, articles, and infographics, you need to choose a serif typecase. It is formal and can be identified with the small strokes at the end of the letterforms.
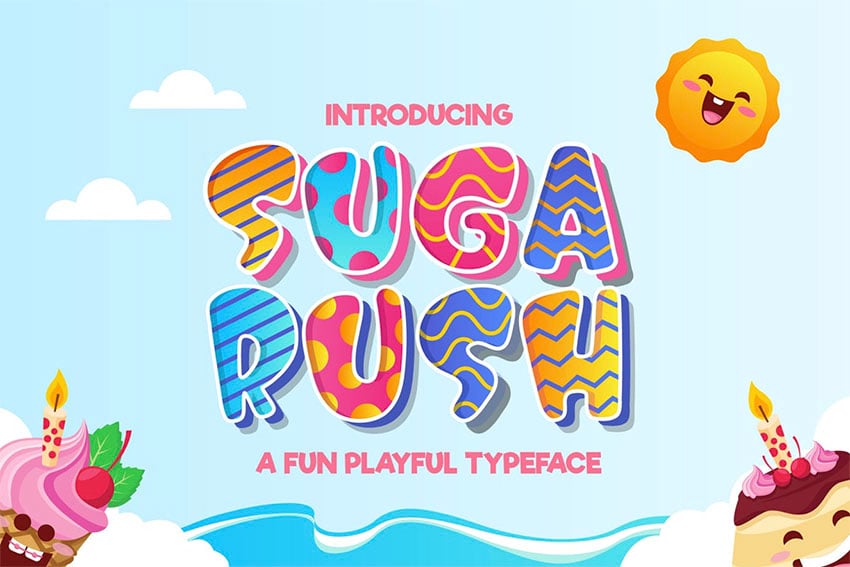
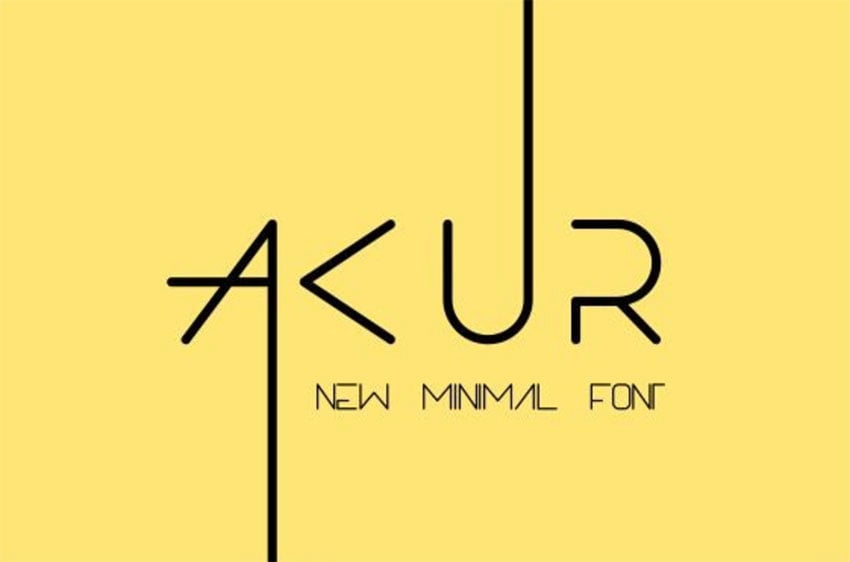
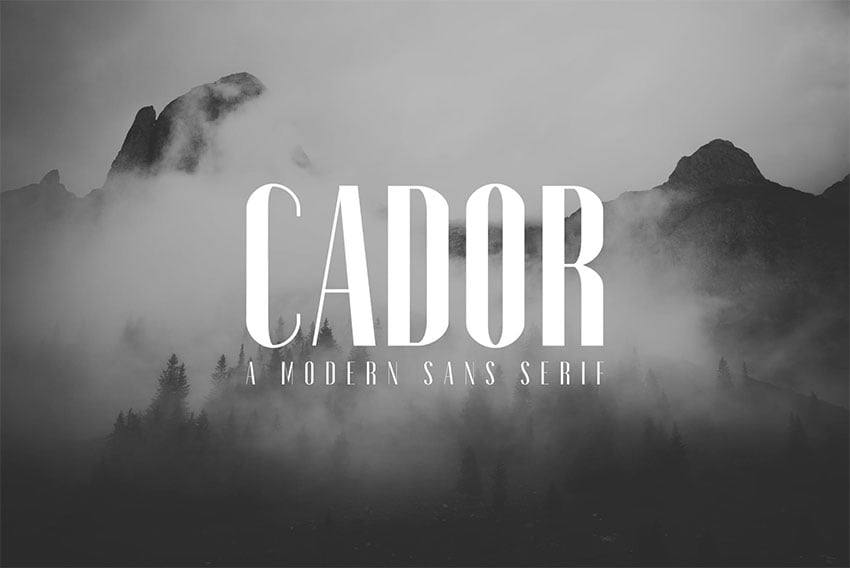
For more casual, minimalist, and modern, a sans-serif typeface will suit your needs. The last one is decorative, usually used for a small number of words like logos, headings, and invitation letter titles.
Fonts can deliver moods to the reader. If you make it to represent your brand, make sure it embraces the message that you want the reader to know about your brand. Make it strong and memorable.
Take a Look for Inspiration
You may have many ideas in your head. By observing the existing font, you will get the visualization. Pick the one that comes close to what you want to create.
Study the fonts, how to make your envisioned alphabet better and what point should be diminished. It would be great if you could make innovations and improvements. Unique fonts will likely gain more recognition, and it will satisfy you after creating a good one.
This first step is important because it will not be easy to start everything immediately. Take your time looking and learning, let’s say, on your favorite websites. The one you feel is convenient when reading their content because they have good typography.
Write A Description of Your Font
Keep track of your font-making by writing a brief about how you want it to be. How is it supposed to look, and what kind of brand or projects suit the font?
To illustrate, you can write down on your note, “I want to make readable fonts that are casual, solid, and modern. I will make variations such as light, semi-bold, and bold styles. It will be used for my website that consists of many tips for youngsters such as makeup, skincare, outfits, and many more”. That’s it; it will help you to stay focused on your purpose.
Try Sketching On a Paper
Take it step by step. Sketching with a tipped pen for the outline and a marker to fill the shape on paper will not go wrong. You have the ideas ready and now try to scratch the paper with the font shapes in your vision.
It does not have the entirety of the set characters. You can try the “control character” which includes “H”, “n”, “o”, and “y”. Or, to establish the DNA of the typeface, you can sketch specific characters like “a”, “g”, “R”, “S”, “H”, “O”, “I”, “d” and “p”. Other characters can be matched later on in your software by following the existing main features.
Handwriting font shapes make great and unique distinctions because they differ from one person to another. Your hand can make more precise and subtler fonts.
Even if you want to make a font with the sole purpose of decoration, you still have to make it readable. Who wants to open a website with the written text they cannot read? Make your unique, special, and functional.
Find The Tools for Your Digital Design
It becomes clearer now after pouring your vision onto a paper. You can design the fonts easier with tools on your computer. For a beginner, it is recommended to use Adobe Illustrator and Photoshop.
Scan your drawings and send them to the software. However, Illustrator is lacking in creating the whole typeface. It needs more advanced tools such as Fontself Maker. It expands the prototype fonts and helps you design until you feel satisfied.
You can use many other well-known applications with a 30-day free trial, such as Glyphs, Robofont, and Fontlab studio. You can experience design with an abundance of free basic tools with PaintFont, MetaFlop, and FontStruck. You can select some of the software that is more comfortable to use.
Test and Try Out the Letters
It is recommended to try the “Hamburgevons” alphabet to test your font. The reason is that the characters represent all the abutments and curves. No matter how you favor one or two characters, you need to make sure the whole character set looks great when combined.
Once you feel happy and proud of what you have made, you need to try the font on your trial project. See how it looks. Is any improvement needed? Or it is already perfect to be applied for your future project.
Switch to the text view mode and see if an adjustment is needed. Maybe some characters are not fit; make some refinement. See how it looks in a sentence. Has the font harmonized with each other?
The same as reading that needs a proofreader, maybe you need to ask your friends or other designers to try the font. Ask for their feedback and advice on how to polish your font to be better.
Practice Makes Perfect
The process of font-making is not easy or instant. You need several trials, failures, and feelings of unsatisfied until it comes to perfection. You can finish one character in a short time. But when it comes to the whole typecase and variety of fonts in different weights, it will take longer.
Be patient and keep your consistency. Take your time drawing on paper, scan it and upload it to your software. Practice and attempt to improve where it lacks.
Make sure the software you choose is convenient for you. Best to cover all the tools and functions needed.
It is important to know the terms related to font-making: Glyph (each character inside a font), baseline (the base space where the characters are written), ascender line (the unseen line at which ascender begins), and there are more terminology such as ascender height, descender depth, stem, bowl, and bézier curve you need to know before trying to create and design a font.
Print Your Design
Printing your design will help you observe your progress thoroughly. The printed text with your newest font can give you a clearer look to spot if maybe there are some misshapen characters.
While getting used to revising the characters on screen, printing on paper will give you a new perspective. You can see subtle things and can re-adjust every time you feel unsatisfied.
The printout result, if organized safely on your shelf, will keep track of your progress and development. You can always come back to see how far you have come with your progress.
Pay Attention to Different Formats
A variety of font formats is innumerable today. Make your font useful in any type of browser by multiplying the font format. Thus, you can make anyone who wants to use the font have no difficulty applying it.
OTF (OpenType), TTF (Truetype font), and PostScript are three recognizable font formats that can be used on mobile devices and computers. Woff2 and woff can be used in any kind of website including one using CMS like WordPress.
Put It on Sale
Want to earn passive income? You can sell your font design online! You can sell it for free on your own website. Good news, no coding is required!
How to sell it online? As stated in easydigitaldownload, first, you need to create WordPress. Some of you might already have a WordPress account, but if you don’t, you can look at the tutorial to create one on a platform like Youtube.
After you sign in to WordPress, install EDD (Easy Digital Download). Subsequently, your dashboard menu in WordPress will add a “Downloads” item. Click “add new” and fill in the complete detailed name and description of your font. Then, add the price for your font.
After that, configure the download file. That’s the file that your customer will receive after purchase. Next, it is crucial to grab customers’ attention by showing them an interesting download image. Hence, when they explore the available fonts in the market, yours will take their interest! Click publish and add payment methods. Now you’re done! (Wells, 2022).
In addition, you can also share your font with GraphicRiver and Envato Elements. They display numerous great and unique fonts. Upload yours to the websites and let the world know what you have created.
Create More Styles, Weights, and Widths
When you have made one font successfully, you might want to explore more styles, weights, and widths of the font. For example, you want to see the font in a lighter or bolder version.
If you have time, try to make more variations. Thus, you can have some options to choose from following the needs of your next projects.
Make your custom font design by following the 11 tips above. Hopefully, it can assist your journey in font-making. If you enjoy designing fonts, you can even make money by uploading them online.

